Setting up ADB (Android Debug Bridge) on a Windows system is essential for developers working with embedded Android platforms such as Rockchip-based SBCs. This tutorial walks you through the step-by-step process of downloading, installing, and configuring ADB to enable USB debugging, firmware flashing, and log access. Whether you’re integrating a TFT LCD module, testing Android firmware, or customizing BSP layers, a reliable ADB setup is the foundation for smooth development and debugging.
Different Windows environments may behave differently with each version of ADB. If one version does not work on your machine, try the other.
adb-v1.0.39.zip version 1.0.39 - Alternative version in case of compatibility issues
adb-v1.0.41.zip version 1.0.41 - Tested and works in most cases
⚠️ Note: The most suitable version depends on your system environment. We suggest starting with v1.0.41.
Unzip the downloaded package to a simple and accessible location — we recommend C:\adb for convenience.
Your folder structure should look like this:
C:\adb
 |adb.exe
 |AdbWinApi.dll
 |AdbWinUsbApi.dll
📁 Tip: Avoid placing ADB in deeply nested folders to prevent path or permission issues later.
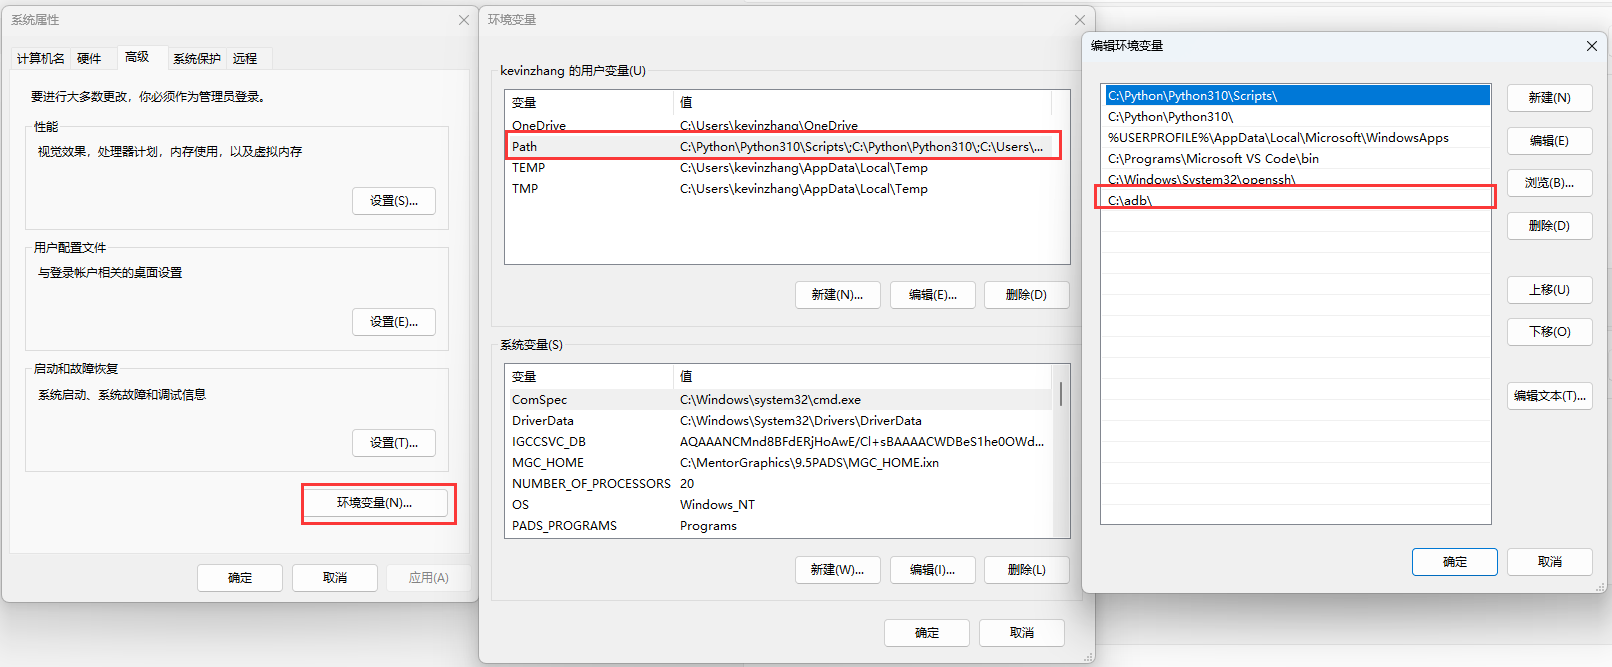
To use ADB from any command prompt, you need to add its folder (e.g., D:\adb) to your system’s PATH environment variable:
D:\adb

To confirm ADB is installed correctly:
adb devices
Open Command Prompt(cmd) and run command adb devices
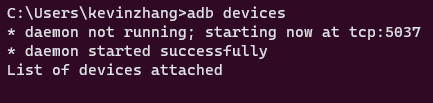
✅ Tip: If you see a message like adb is not recognized as an internal or external command, double-check your system PATH setting from Step 3.
To connect Rocktech devices via ADB, you’ll need to install the appropriate USB driver based on the SoC (System on Chip) used in your device.
If your Rocktech product is based on one of the following SoCs:
Or if you’re using a Rocktech Smart Control Panel, such as:
Download and install the official Rockchip USB driver:
If your device uses the following SoCs:
Download and install the official Allwinner USB driver:
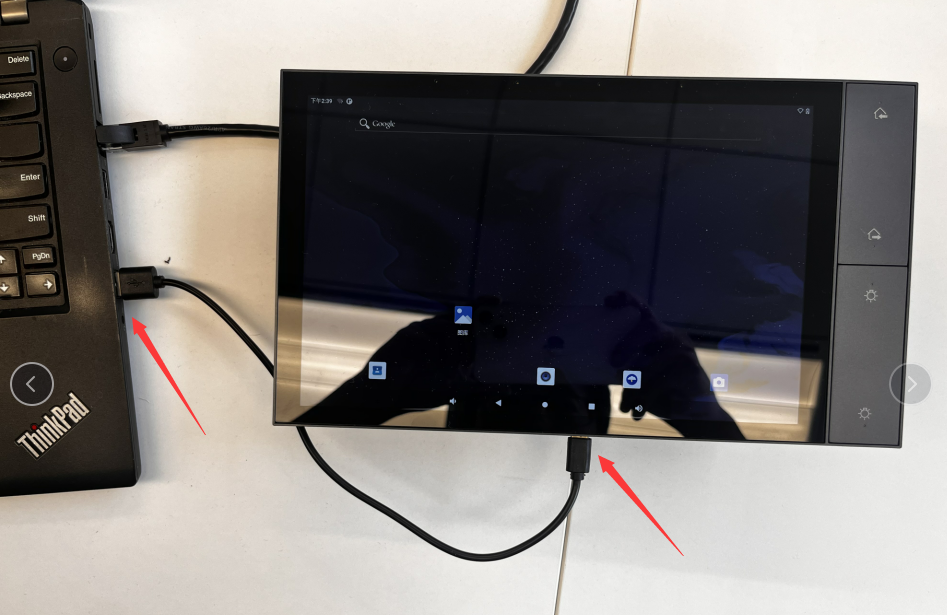
There are two methods to establish an ADB connection with your Rocktech Smart Device. Choose the one that best fits your environment.
Ensure the device is powered on and connected to your PC using a USB data cable.
Make sure both your Smart Device and PC are connected to the same local Wi-Fi network (same router or subnet).
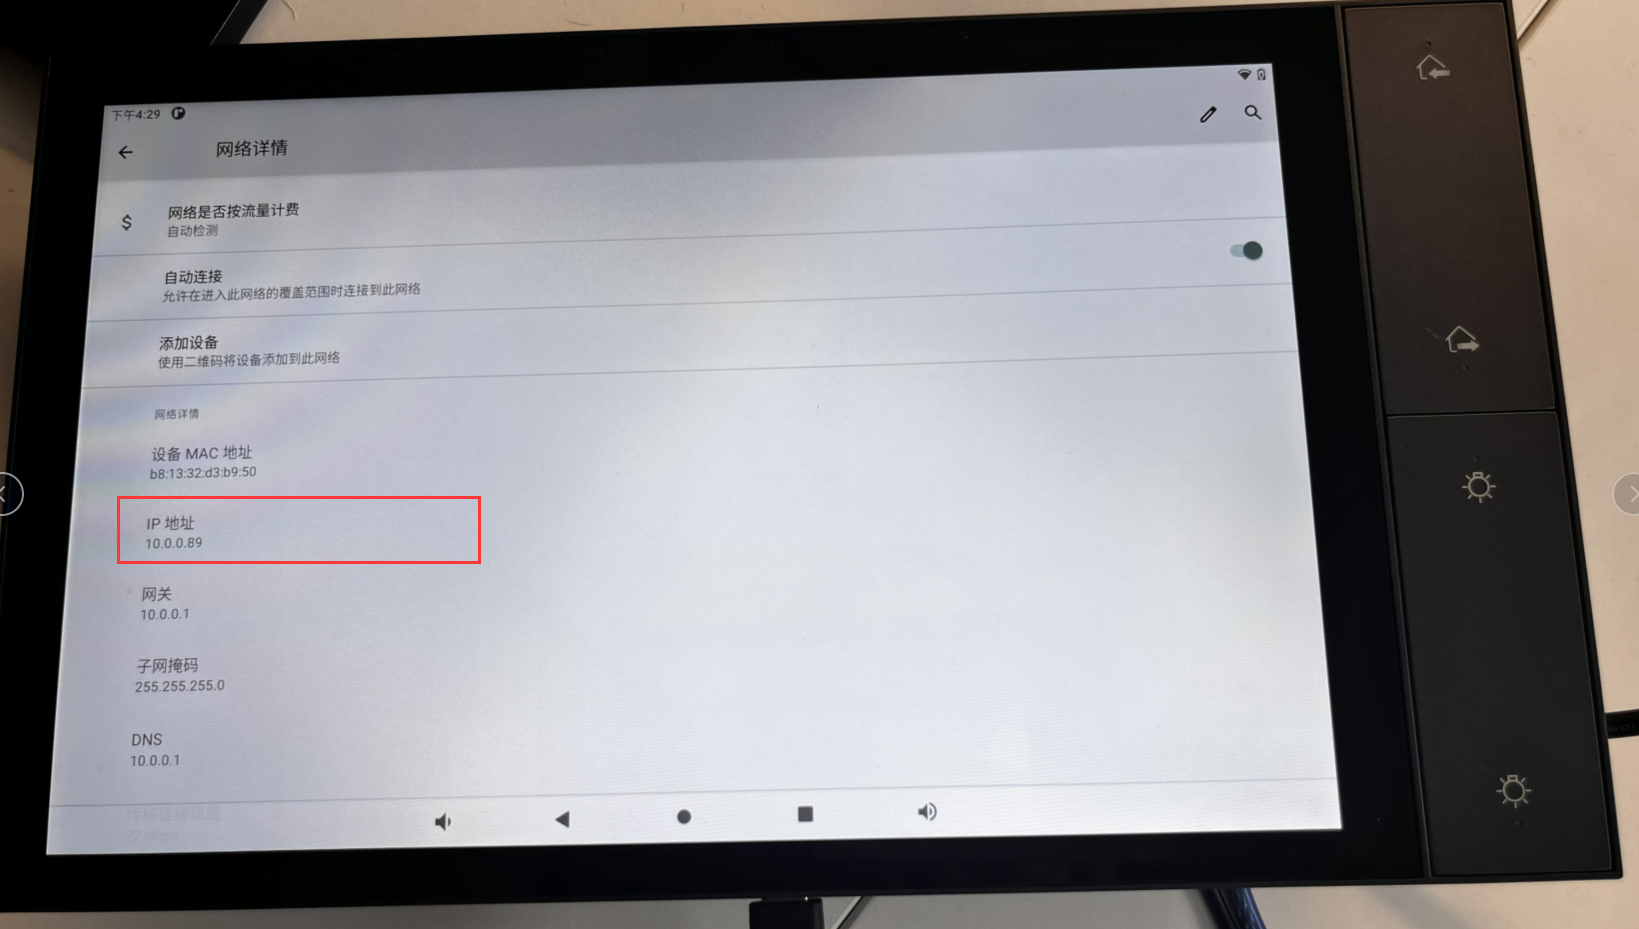
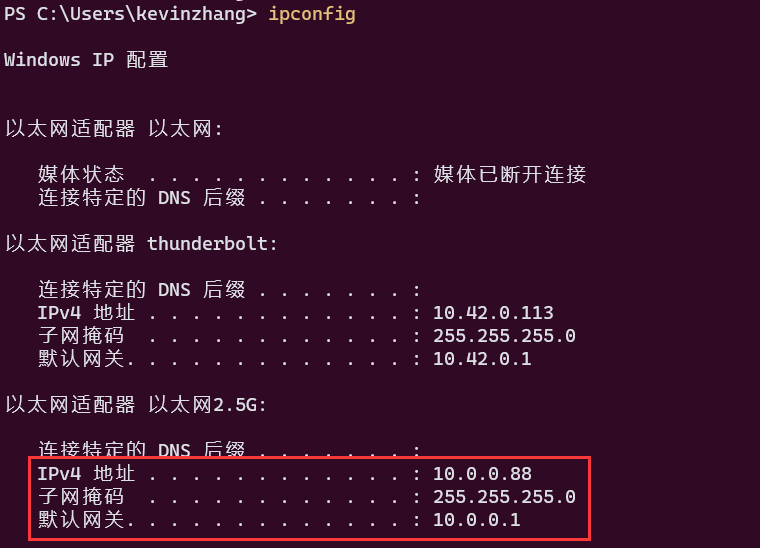
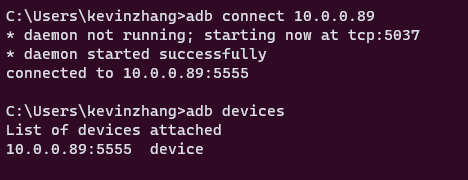
Use the following command to connect ADB over Wi-Fi (replace the IP address with your device’s actual IP):
adb connect 10.0.0.89
Sends a file from your PC to the device’s internal storage (e.g. /sdcard/):
adb push filename /sdcard/
Downloads a file from the device to your current PC directory:
adb pull /sdcard/filename
Installs an Android application (.apk file) onto the connected Smart Device:
adb install your_app.apk
Tip: Use -r to reinstall without removing user data:
adb install -r your_app.apk
Here are a few more useful operations during development and testing:
List connected devices
adb devices
Reboot the device
adb reboot
Start a shell on the device
adb shell
View device logs (for debugging)
adb logcat
Uninstall an app (replace package.name with actual package)
adb uninstall com.example.app